
-
×
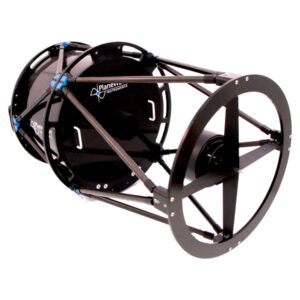 PlaneWave 17″ CDK Telescope with Fused Silica Mirror on Sale
1 × $92.00
PlaneWave 17″ CDK Telescope with Fused Silica Mirror on Sale
1 × $92.00 -
×
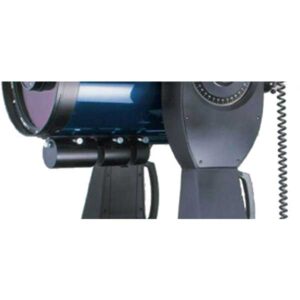
 Meade #1404 Tube Balance Weight System For Sale
1 × $92.00
Meade #1404 Tube Balance Weight System For Sale
1 × $92.00 -
×
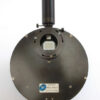
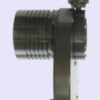
 Meade #1403 Tube Balance Weight System for Meade 12″ Fork-Mounted SCT’s on Sale
1 × $90.00
Meade #1403 Tube Balance Weight System for Meade 12″ Fork-Mounted SCT’s on Sale
1 × $90.00
Subtotal: $274.00


Reviews
There are no reviews yet.